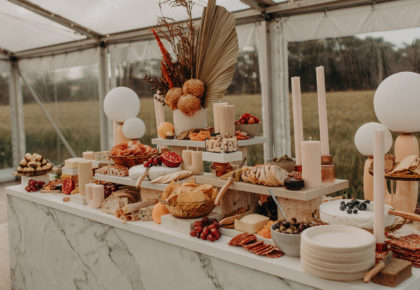
They are big, they are beautiful, and they are bold. Champagne towers are a showstopper, and a (somewhat) easy way to add a level of opulence to your event.
A fancy New Year’s Eve party, wedding, or 50th Birthday celebration, whatever your occasion, is there really any other way to celebrate than with yummy bubbles trickling down a majestic tower of champagne saucers?
Like with most great things, there is still some science behind building a dazzling tower that will totally WOW your guests. So, if you are considering showing off to your friends and family with one of these bad boys, keep reading. Because let’s face it, no one wants to be the next ‘champagne tower fail’ hit on tok-tok.
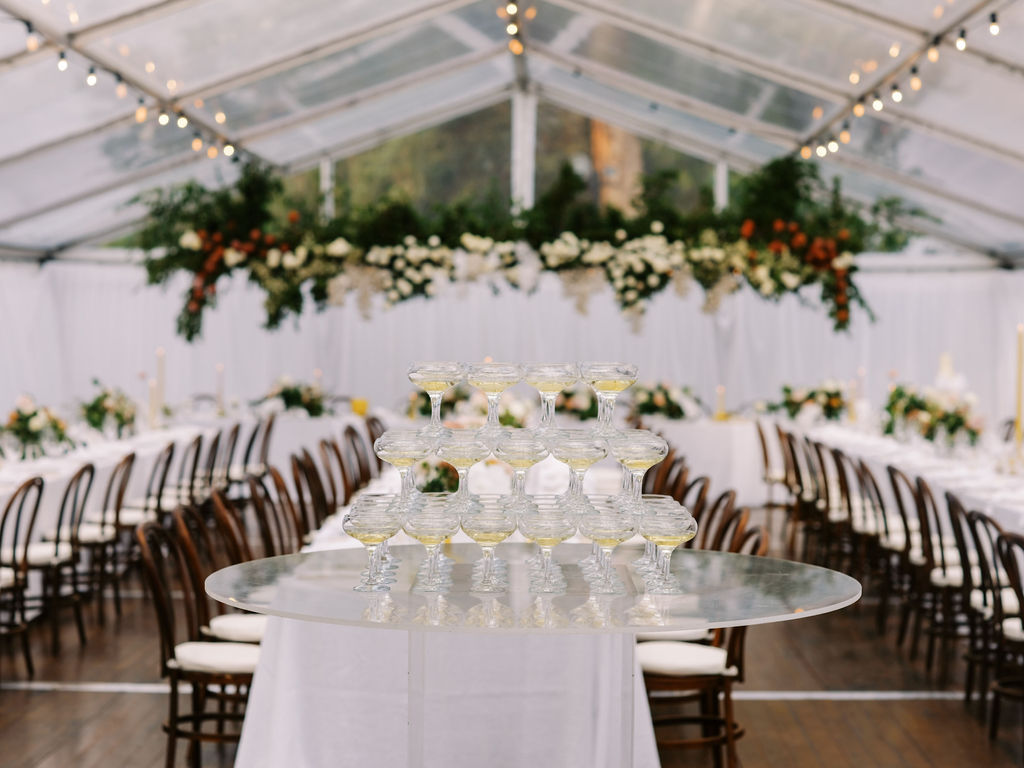
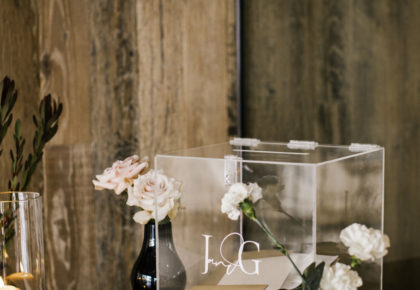
Image @katiegrantphoto
WHAT YOU NEED:
– A super sturdy base or table of some sort
– Spillage tray & a fancy tea towel or napkin – spillages are a risk
– Coupe champagne saucers, NOT flutes
– Bottles of bubbly!
THE STEPS:
1.Determine your tiers & number of glasses
First thing is first, figure out how many tiers you want your tower to be. The number of tiers will determine the number of glasses you need. We suggest you start from the top and work your way down!
For example:
Top = 1 glass (1×1=1)
Tier 2 = 4 glasses (2×2=4)
Tier 3 = 9 glasses (3×3=9)
We have put together a little cheat sheet for you:
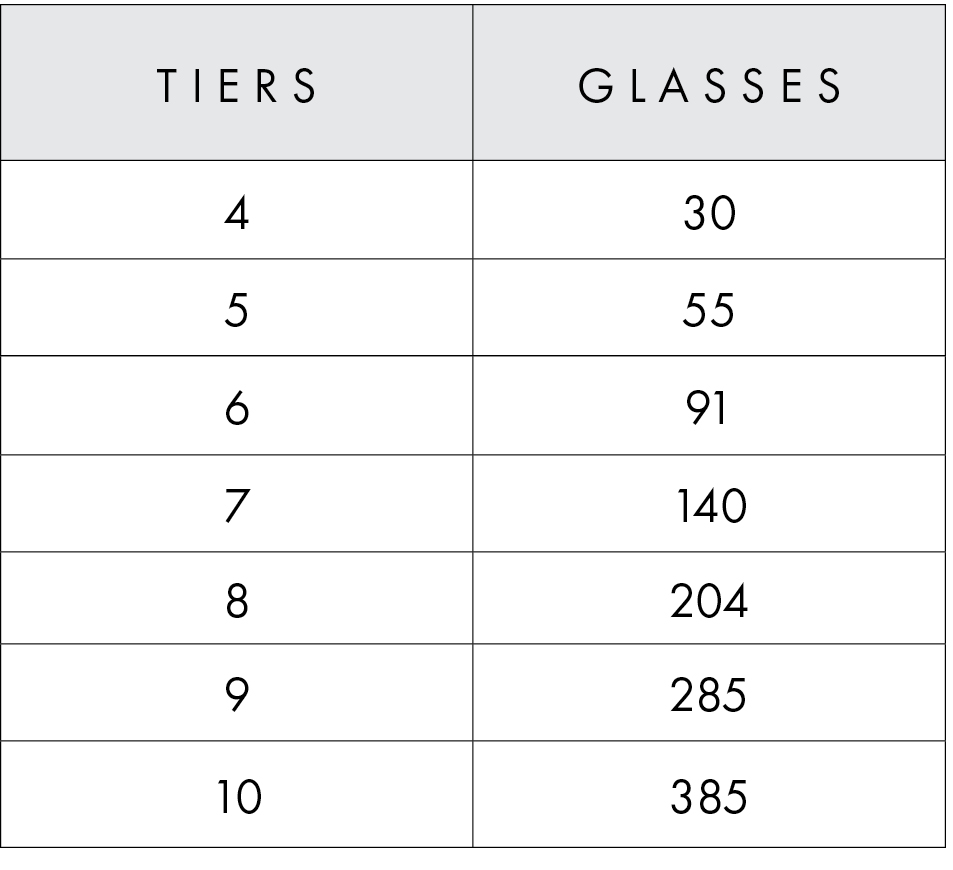
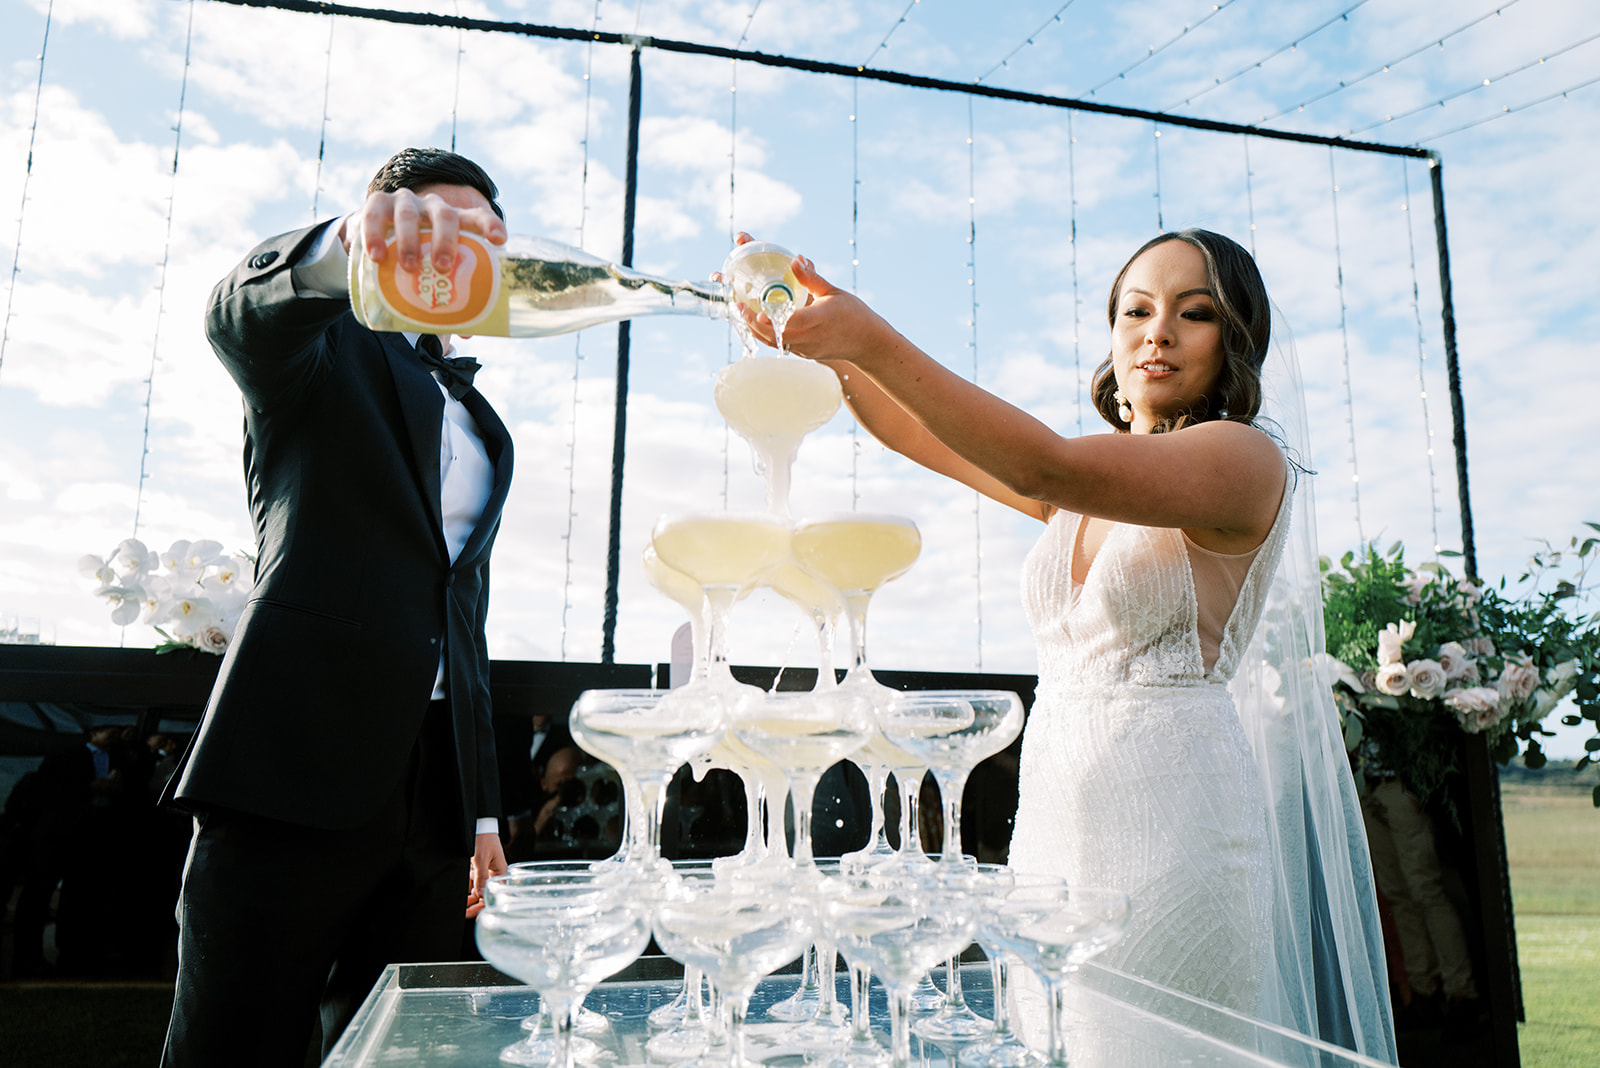
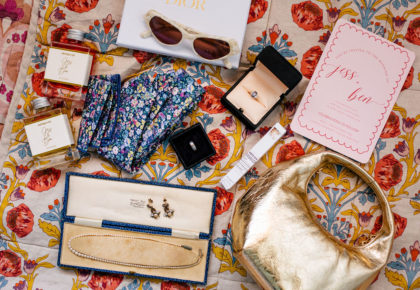
Image: @peterthephotographer.co
2.Start with a base
Your base must be solid, sturdy and not on wheels!
Be sure your base has enough room to hold enough coupes without it being too squishy, though still within arms reach.
It’s also a good idea to think about its placement. Try and keep the tower out of congested areas, as there would be nothing worse than someone accidentally knocking it as they walk past.
3.Build from the bottom up
Create the bottom later – then build her on up!
Your tower should consist of squares that get successively smaller as the tower rises.
For example, if the base was 6 x 6 coupe glasses, then the second bottom tier will be 5 x 5 glasses, the next 4 x 4 glasses and so on until you finish with one solitary glass sitting at the top.
NOTE | The glasses must sit snug and touch, creating a diamond shape in the middle of every 4 glasses. The glasses need to be placed directly in the centre of the diamond below it.
DOUBLE NOTE | Remember to use coupe style glasses, not flutes. Also be sure that all of your glasses are the same size so they balance easily when stacked on one another.
Our ribbed champagne saucers & premium champagne saucers are the perfect option.
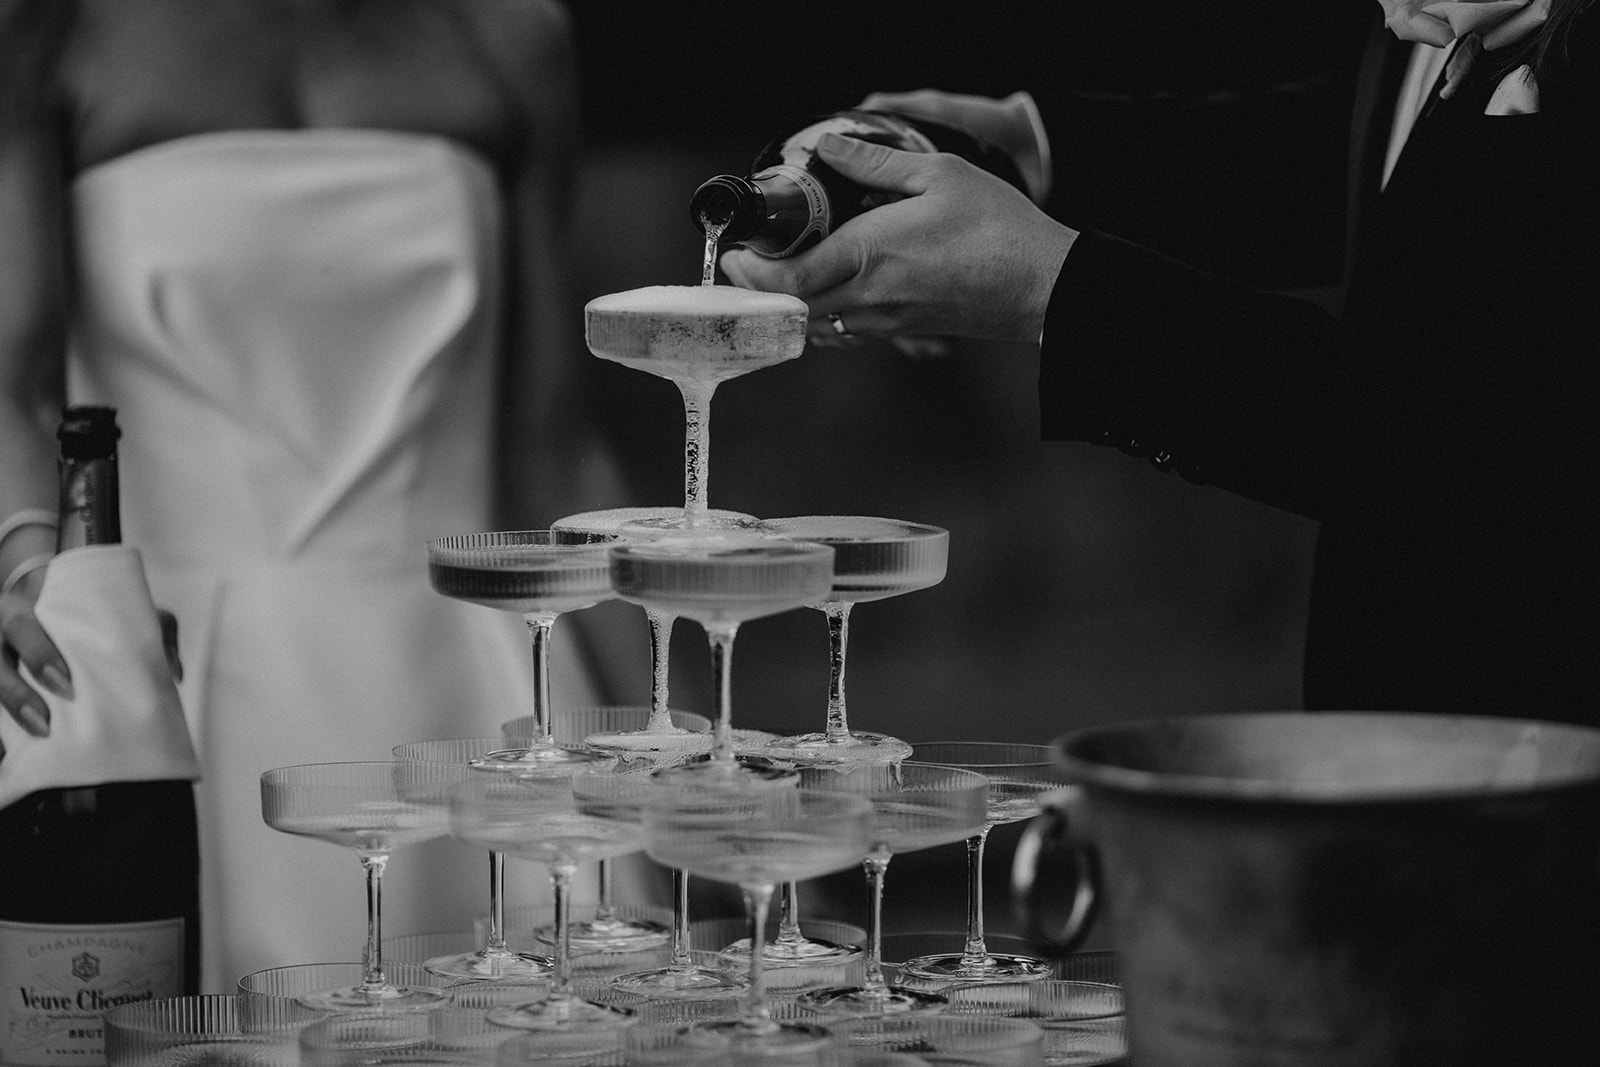
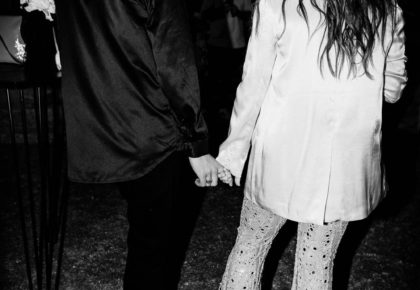
Image: @emmamacaulayphotography
4.Watch the magic happen
IT’S TIME TO POUR THE CHAMPAS!
Start slowly with a steady hand and let the champagne trickle down the tower.
TIP | Top up the side coupes as you go to make sure there is an even weight throughout the tower to avoid it collapsing!
If you can’t reach the top, grab yourself a small step ladder so you can pour from the top and not knock any glasses in the process. Or rather, as your 6’ft friend to do the honours!
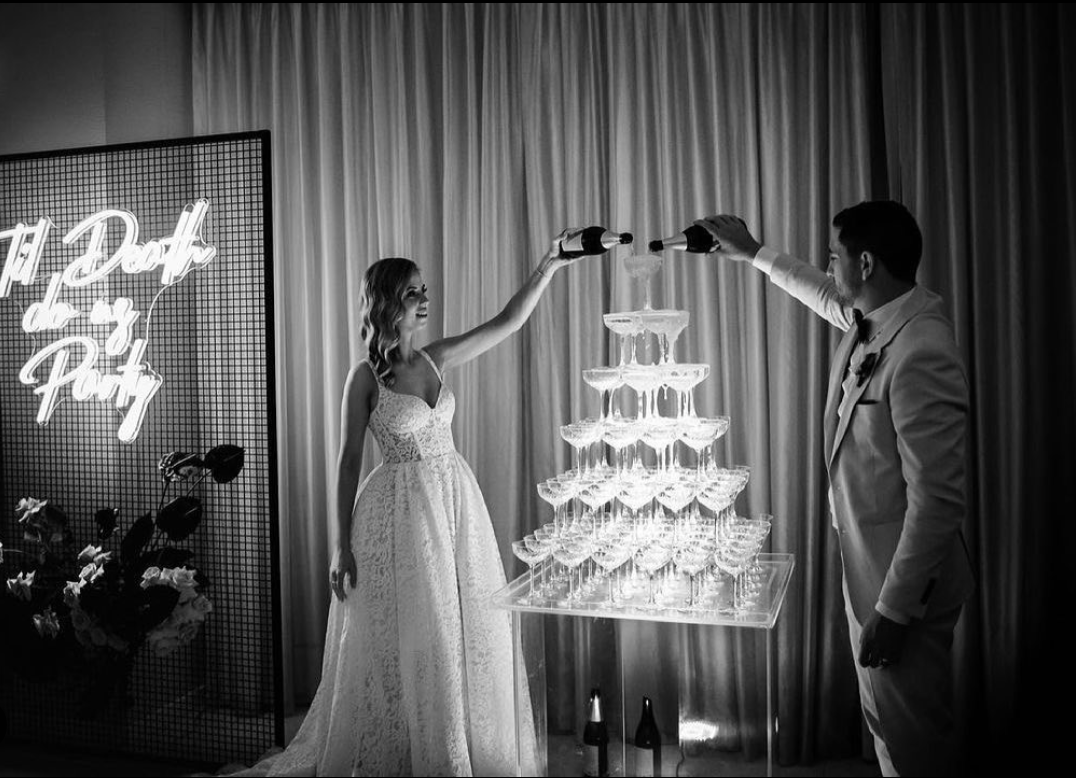
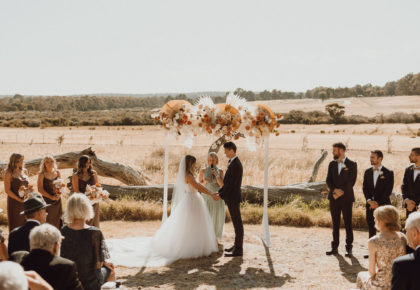
Image: @photogerson
THE TAKEAWAYS:
- Coupe style champagne glasses
- A solid, sturdy base
- A steady hand